

Many people have android devices, whether used as smartphones or for tablets (they make up about 80% of all smartphone users!) Surprisingly, a number of useful features still remain relatively unknown. This list assumes that your android device at least has KitKat 4.4.2 – while there is the new KitKat 5.2 being released, it is restricted mainly to newer devices only. We want to make sure most of you can make use of these features below!
“OK Google!”
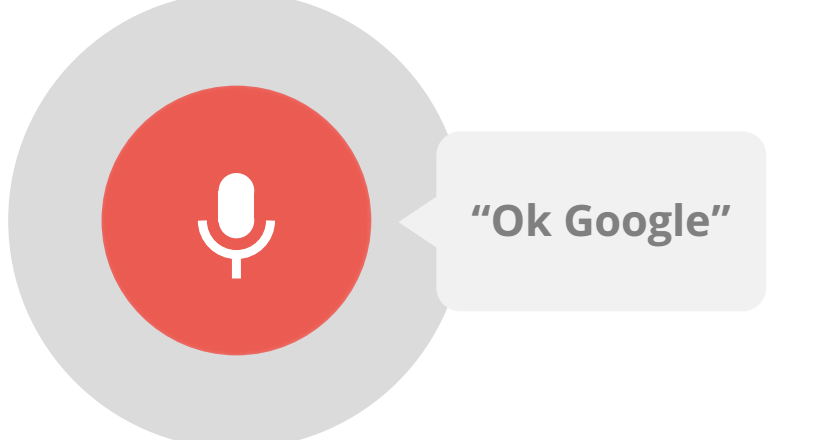
Apple has Siri, and Windows has Cortana. Don’t worry — even if there’s not a cute name attached it, Android has its own version too. You’ll need to turn it on first, to get it running:
Open the Google app on your device, then touch the menu button to open Settings > Voice > “OK Google” detection. Make sure that the box next to “From Google App” is selected.
You can also set it up to work outside of the app, by selecting “From Any Screen” or “Always On”. It will then have you go through the instructions to train it to recognize your voice.
With this, you’ll be able to say “OK Google” from any screen as long as your phone is unlocked.
Curious to just what you can do with this unlocked feature?
- Say “Play (artist or song)” to open a particular music artist or song in Google Play, or the default music player. Have a app that you specifically use? As an example, if you use Poweramp, say “Play (artist or song) in PowerAmp” and it will search for the song in that app.
- Need directions somewhere? If your location services are on, say “How do I get to (major store or specific address)?” It will pull up the fastest route for you, so that all you have to do is pushed the button to start it. (Bonus: Set up your address with Google Now, and you can merely say I need directions home.)
- Want a reminder? You can start up a timer or alarm by saying “Set a timer for (amount of time)” or “Set an alarm for (amount of time).”
- You can even get Google to identify songs for you by saying “What’s this Song?” and letting it identify what’s playing.
Extending Your Battery
It’s not obvious: if you don’t need to use it, turn off your Bluetooth, GPS/Location services, and Syncing services! Along with that, connect to Wi-Fi whenever possible instead of Mobile Data, turn your screen brightness as low as you can, and decrease your screen sleep timer to 15 to 30 seconds.
Locate Your Phone using Android Device Manager
Afraid of losing your android device? You can use Google’s own services to find the approximate location and when it was last used — you’ll need to always have your location/GPS services always turned on and have it signed into your Google account. It won’t work if the device is turned off, or if it isn’t connected to a mobile or Wi-Fi network.
As per the directions through Google:
- Sign into your Google Account on android.com/devicemanager
- If you have more than one device, click the arrow next to the device name to select a different device.
- Android Device Manager will show you the approximate location of the device selected.
From this back end, you can also remotely ring, lock, or erase it through the website.

Time-Saving Gestures
Do you check your notifications often, or need to quickly change a setting? Try this:
Swipe down from the top of the screen with one finger to check your notifications.
Swipe down with two fingers at the same time, and it’ll bring down your quick settings options, where you can adjust brightness, toggle your wi-fi or mobile network, and more!
Control Your Data Usage
 Phone Service providers first offered unlimited data plans, but soon removed them unless you paid top dollar. It didn’t stop the increase of how much data was required by even the most common of apps, however! Streaming music, checking your email, and even maintaining Facebook chats — they’re all data gobblers!
You can easily monitor your data usage, and even set the time frame that you want to monitor the use by going to Settings > Data Usage.
Want to go one step further and restrict your data usage to only what you’re allotted by your contract? Check the box next to Limit mobile data usage, then shift the bar on the graph to reflect your limit. You can even set it up to have an alert for when you reach a certain amount before data is restricted – just select alert me about data usage and set it as you did the data restriction limit.
Manage Multiple Google Accounts
Sometimes you have multiple Google accounts – whether to keep life and work separate, or just to keep things in neat categories. Either way, you can manage them both on one android device.
Go to Settings > Accounts > Add Account > Google.
You’ll be asked whether you want to add an existing account, or create a new one – click Existing and sign in! Accept the Terms of Service for the various Google apps, then select or deselect all of the items you want to Sync. This is convenient in the sense of letting you choose whether you want to pull contacts, your Drive files, Calendar, Gmail and more from that account.
Know that you can actually have separate user accounts on one device, too! This means that you can have accounts that can have entirely separate settings, apps, and files:
Open Settings > Users >Add User (if you want them to have their own apps) or Restricted Profile (if you only want them to use your apps and content). You’ll be sent through the same steps to add a Google Account to your device, except now when you go to unlock your device, you have the option to switch accounts.
Disable Auto Updates
One or two automatic updates aren’t so bad. But when you have — c’mon, admit it — up to 30 or more applications on your phone, it gets pretty overwhelming getting so many alerts. If you’re connected through Wi-Fi, by default Google Play will automatically start downloading and installing the updates… which unfortunately will bog down the entire device until completed.
To solve this little problem, open Google Play. Tap the Hamburger icon on the top left of the screen. Tap Settings. Go to Auto-Update Apps, then select Do not auto-update apps.

If you do this however, make sure you go through now and then to manually update all of the apps!
Block Pesky Numbers or Contacts
There’s always telemarketer numbers or robo-dialers that call at all times of the day, whether you told them to stop or not. Maybe you just have that person you regret giving your number to – either way, there’s a quick solution for that.
If they are already a contact in your phone, navigate to People, and the individual contact. Listed alongside their information, you can tap the option Block Contact. If you have them as contacts in other apps such as email or Skype, it’ll ask whether or not you want to block them there as well.
Did they just call, or you put them through as a missed call? Navigate to Phone > Call History. Long click on the offending number (leave your finger on the spot for a second or two!) until an additional dialogue box pops up – the second to last option will be to Block Contact.